
7 Food Label Printer Buying Tips for Global Buyers
Buying a Food Label Printer for international production is not a simple equipment decision. It affects traceability, packaging speed, product presentation, and daily operating costs. A printer that performs well in a small factory may struggle beside a fast conveyor. That difference matters.
Steve Flann, a recognized labeling technology executive, offers a useful principle: “A label is more than ink; it is trusted data made visible.” Global buyers should remember that principle when comparing print quality, software, media compatibility, and service support. A sharp barcode is valuable only when scanners read it consistently. A beautiful label still fails if humidity, cold storage, or oil damages the adhesive.
This guide presents seven practical buying tips for choosing a Food Label Printer across different markets. It considers thermal transfer and direct thermal printing, resolution, print width, connectivity, consumable availability, and maintenance access. These details become very real on a busy production floor. A jammed roll can stop packing. A missing replacement head can delay shipment.
Experience also teaches an uncomfortable lesson. The cheapest printer may become the most expensive choice. Buyers sometimes focus on the initial quotation and overlook ribbon waste, software licenses, cleaning time, and technician travel. That is not always a mistake, but it deserves reflection. Ask for sample testing with your actual label stock. Check small text, nutrition panels, barcodes, and batch codes.
No machine is perfect. The right one is dependable, serviceable, and suited to your operating conditions. That is the standard this buying guide will explore.
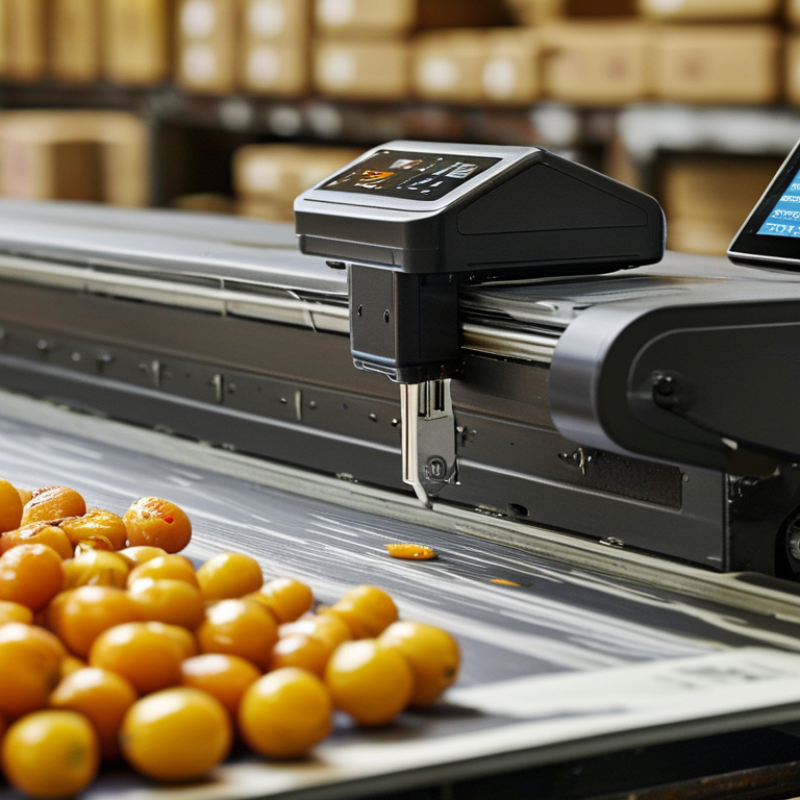
Define Label Needs: Match Applications, Volumes, and GS1 Barcode Sizes
Before choosing a label printer, define the label’s real job. A chilled meal label needs moisture resistance, strong adhesion, and readable text after refrigeration. A spice label may require fine ingredients text and longer shelf life. Record label width, height, material, printing color, daily volume, and application speed. Guessing here can create expensive waste.
Volume changes the equipment decision. Occasional batches may suit a compact thermal printer, while several thousand labels daily require faster media handling and dependable duty cycles. Smithers’ 2024 market analysis reports continued growth in digitally printed labels, with annual growth above 5% projected through 2029. That trend reflects shorter production runs and more product variations. It does not mean digital printing is always better. I have seen buyers overspecify printers for small batches, then struggle with unused capacity and maintenance.
Barcode dimensions need measured planning. GS1 General Specifications identify 0.330 millimeters as the nominal X-dimension for an EAN-13 symbol. At 80% magnification, the X-dimension is 0.264 millimeters. Quiet zones, print contrast, and substrate distortion still matter. A narrow barcode placed near a curved container may scan poorly, even when its artwork looks correct. Test printed samples at the smallest planned size. Check them after chilling, rubbing, and handling. A scanner test is useful, but one successful scan is not enough. Review the result with production staff before purchasing.
7 Food Label Printer Buying Tips for Global Buyers: Define Label Needs, Match Applications, Volumes, and GS1 Barcode Sizes
| Tip | Buying Dimension | Typical Food-Label Application | Planning Volume | Relevant Data and Practical Target | What Buyers Should Confirm |
|---|---|---|---|---|---|
| 1 | Define the label job | Ingredient, nutrition, allergen, date, lot, weight, shelf-life, and traceability labels | One label per pack to multiple labels per case or pallet | Choose a printer according to the largest label size, required print contrast, variable-data content, and whether labels are applied manually or automatically. | List the package types, label locations, daily operating hours, required languages, and the number of variable fields before comparing printer specifications. |
| 2 | Match print technology to the environment | Retail packs, chilled products, frozen foods, warehouse cases, and shipping labels | Low to medium: desktop or compact units; medium to high: industrial-duty units | Direct thermal printing is suitable for short-life labels when heat and sunlight exposure are limited. Thermal transfer printing uses a ribbon and is generally better for durable labels, moisture exposure, abrasion, and longer storage. | Confirm exposure to condensation, refrigeration, freezing temperatures, grease, cleaning chemicals, abrasion, and direct sunlight. Select compatible label stock and ribbon where required. |
| 3 | Calculate volume and duty cycle | Batch production, central kitchens, food processing, distribution, and warehouse identification | Estimate labels per day and per shift; include seasonal peaks and reprints | A useful estimate is: labels per day = production units × labels per unit + case or pallet labels + expected reprints. Allow additional capacity for peak periods rather than sizing only for average demand. | Compare rated print speed, maximum continuous printing time, media capacity, cutter or peeler requirements, printhead replacement procedures, and expected monthly workload. |
| 4 | Set the right print resolution | Text-heavy nutrition panels, small allergen statements, logos, 1D barcodes, and 2D codes | Resolution should be based on the smallest printed element, not only on label size | 203 dpi is commonly suitable for standard text and many general-purpose labels. 300 dpi provides finer text and graphics. 600 dpi is intended for very small text, dense symbols, or fine graphics when the label material and printer support it. | Print a verification sample at the smallest font and barcode size. Check edge sharpness, quiet zones, contrast, magnification, and scan performance after application to the package. |
| 5 | Size GS1 barcodes correctly | Retail point-of-sale codes, case identification, pallet labels, and traceability | Use the same approved layout consistently across production sites | For GS1-128, the X-dimension is commonly selected within 0.495–1.016 mm, subject to the application specification. For EAN/UPC symbols, the nominal X-dimension is approximately 0.330 mm, with permitted magnification ranges defined by the applicable GS1 specification. GS1 DataMatrix uses an X-dimension selected for the application and scanner capability. | Do not shrink a barcode merely to fit the label. Preserve the required quiet zones, print at adequate contrast, verify the human-readable interpretation, and use an ISO/IEC 15416 or ISO/IEC 15415 grading process where applicable. |
| 6 | Confirm media and label dimensions | Small retail labels, wrap-around labels, carton labels, pallet labels, and tamper-evident labels | Select roll capacity and core size for the planned shift length | Record label width, height, gap or black-mark position, roll outer diameter, core diameter, winding direction, liner type, and adhesive characteristics. A wider label may require a wider print path and platen roller. | Test the actual label material at operating speed. Verify adhesion to plastic, glass, coated cardboard, corrugated board, and cold or damp surfaces, including after condensation or freezing. |
| 7 | Plan connectivity, compliance, and total cost | Standalone packing stations, shared production networks, ERP or WMS-connected workflows, and mobile operations | Consider the number of printers, operators, locations, and shifts | Evaluate USB, Ethernet, Wi-Fi, Bluetooth, operating-system support, label-design compatibility, remote management, and integration with production or inventory systems. Total cost includes printer, printhead, platen, ribbon, labels, software, service, downtime, and energy. | Confirm electrical requirements for each country, food-production cleaning rules, enclosure or ingress protection, documentation, spare-parts availability, operator training, warranty terms, and local service capability. |
Note: Barcode dimensions and verification requirements can vary by symbol type, application, market, packaging level, and the latest applicable GS1 specification. Always validate the final artwork and printed samples against the requirements of the intended trading partners and scanning environment.
Related Posts
-
What is a Food Label Printer and How Does it Work?
-
Top Business Label Printer Options for Efficient Labeling Solutions?
-
5 Essential Features of the Best Food Packaging Label Printers for Global Buyers
-

5 Unique Benefits of Square Barcodes for Global Procurement Success
-
Best QR Code Printer for Efficient Business Solutions?
-

Unleashing Growth Opportunities for Packaging Printers at the Record Breaking Canton Fair 2025